
This time, we're going to cast the resin fingerboard as one piece, but with slots to add the fret wire afterwards. Using the excellent StewMac Fretboard Calculator we drew up our fingerboard in Inkscrape and split the fingerboard into two pieces, at around the 9th fret
After placing the fret lines at the correct intervals, we drew a large rectangle around the lines and tapered it to match our existing guitar neck. On our neck, the nut is just 42mm wide, and the fingerboard is 56mm wide at the 21st fret. This gives the fingerboard a much more tapered appearance than on our earlier (Gear4Music) guitar neck.
The individual pieces were then cut from some 3mm mdf sheet.

And the entire pattern repeated, only this time with the fret wires "cut" at 200mm/sec, so as to create only the lightest of engraved patterns, onto 2mm mdf

Next was simply a matter of applying PVA glue to the base and positioning each piece (perfectly) onto the fingerboard blank
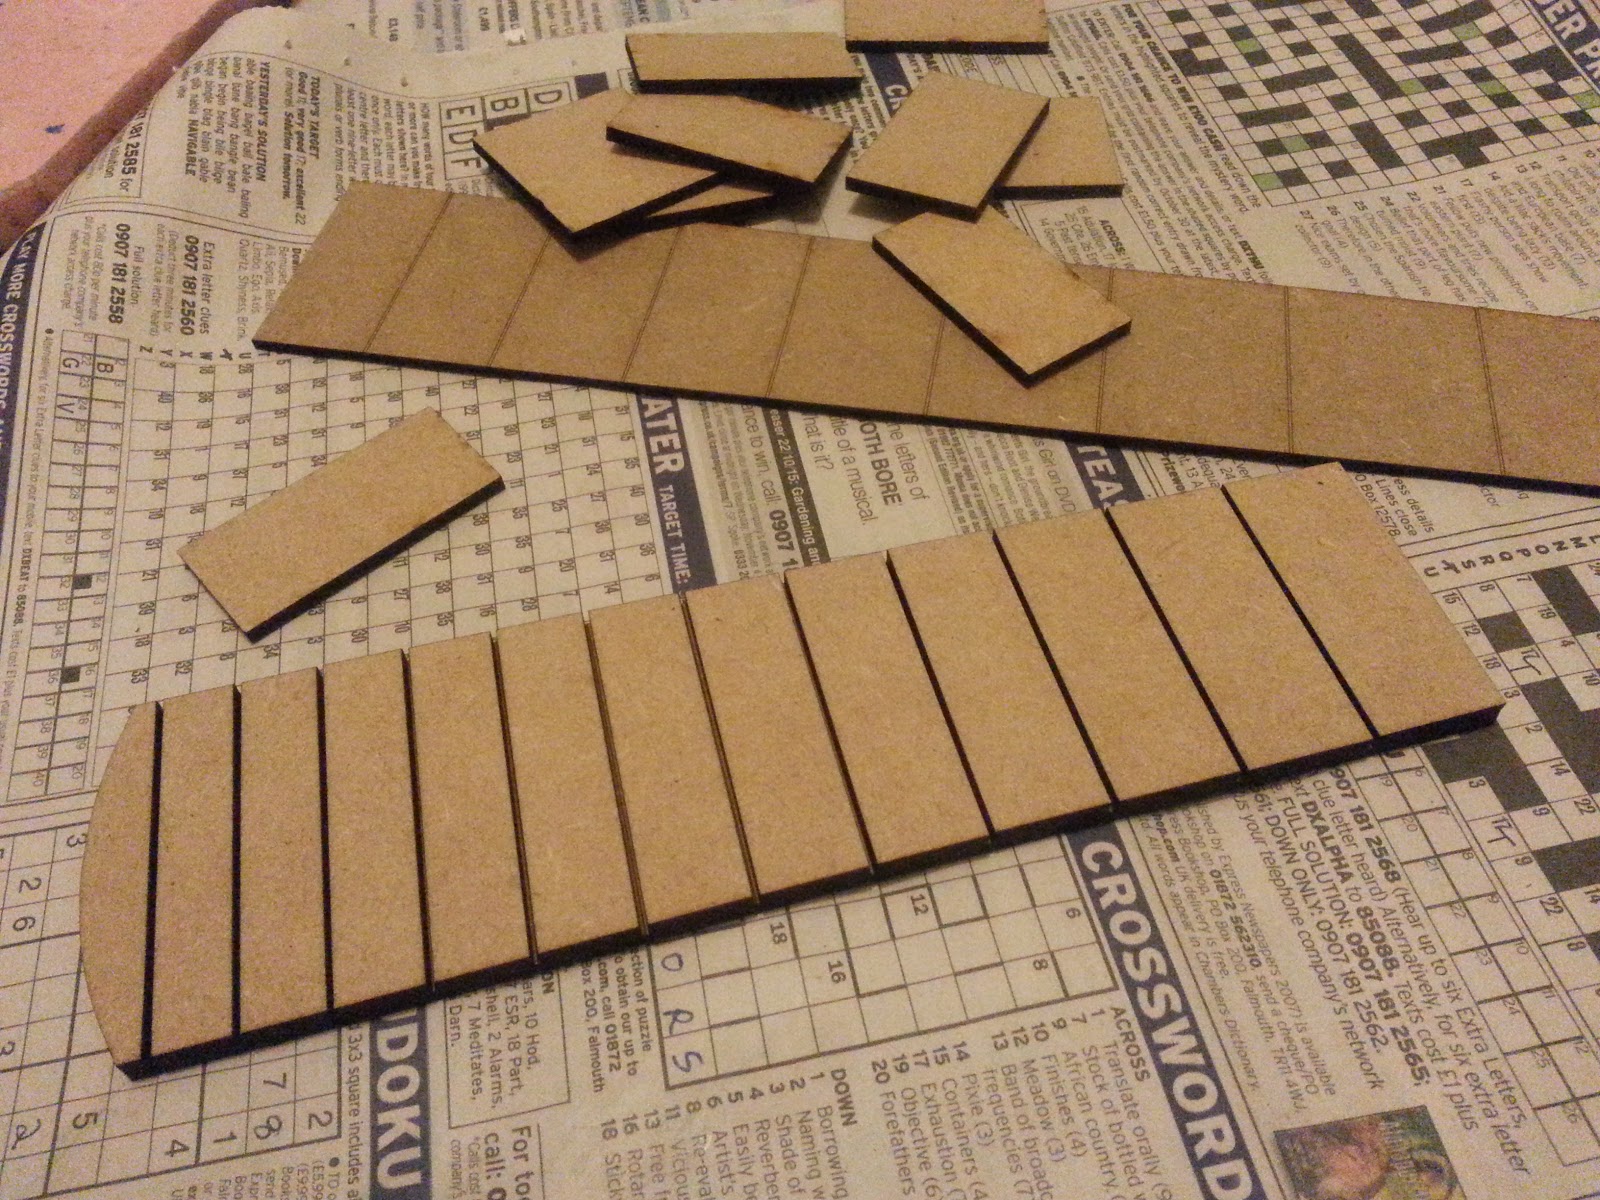
The score marks on the base piece made it easier to make sure each "block" was not only positioned in the right place on the board, but also to ensure a consistent gap between the fret slots. Where the new fingerboard is made from two sections (at the 9th fret) we will assemble them in such a way as to leave a small gap between the two pieces - just enough to fit the fret wire between the two sections.

The fingerboard blank after assembly. Note how it has more of a taper than the earlier fingerboard (which came from a different guitar). Also of note is that the spacing of the frets is the same, despite the fingerboards being different lengths. This is because they are both from guitars which have a 25.5" scale length (i.e. the distance from the nut to the bridge). Although this fingerboard is shorter than the first, the total length of each string on the guitar(s) is the same - so the fret spacing should also be the same - it's just that our new fingerboard finishes sooner than the first!
Now we've got our fingerboard blank (with slots) and our radius sanding block, we just need to leave our PVA glue plenty of time to dry fully before sanding it to shape.

our mdf guitar fingerboard blank, after sanding with a 13.5" radius sanding block
No comments:
Post a Comment